Working with 📦 Namespaces in Kubernetes☸️
Day33 Part-1 : 90DaysOfDevOps Challenge

Hey there! I am Deepak!! Passionate About Cloud & AWS☁️| DevOps ♾️ Technologies 👩🏻💻 And Skilled with Git 🔀 | Docker 🐳 | Kubernetes ☸ | Jenkins 🛠️
👏 Welcome to my blog!!
Hey there! 🎊🎉 In the previous couple of K8s blogs we have learned about the Architecture of K8s, Minikube Installation, What is Pod, Deployment in K8s. In this blog, we're diving into the exciting world of Kubernetes Namespaces.💥🙌
📁Namespaces in Kubernetes
Namespaces are a way to organize clusters into virtual sub-clusters — they can be helpful when different teams or projects share a Kubernetes cluster.
Any number of namespaces are supported within a cluster, each logically separated from others but with the ability to communicate with each other.
Here are some key points about namespaces in Kubernetes, represented with bulleted points:
🛡️ Isolation: Namespaces provide a level of isolation for resources within a Kubernetes cluster. Resources in one namespace are separate from resources in another namespace.
📦 Resource Scoping: Resources such as Pods, Services, ConfigMaps, and more are scoped to a specific namespace. This means that two resources with the same name can exist in different namespaces without conflicts.
🏠 Default Namespace: When you create resources without specifying a namespace, they are created in the default namespace. It's important to specify the namespace explicitly when needed.
📊 Resource Quotas: Resource quotas can be applied to namespaces to limit the amount of CPU, memory, and other resources that can be consumed by resources in that namespace.
🔐 RBAC Policies: Role-Based Access Control (RBAC) policies can be applied to namespaces to control who can access and manipulate resources within the namespace.
🌐 Use Cases: Namespaces are commonly used to separate environments (e.g., development, staging, production), teams, or projects within a single Kubernetes cluster.
⚒️Managing Namespaces
✍🏼 List of Namespace:
kubectl get namespace
✍🏼 Creating a Namespace Using Command:
To create use this command:
kubectl create namespace <namespace-name>Replace<namespace-name>with the name your.kubectl create namespace <namespace-name>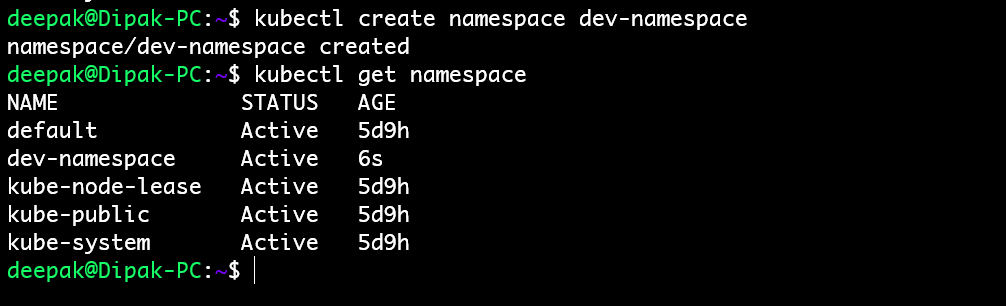
✍🏼 Creating a Namespace Using YAML file:
Here is the YAML file to create a namespace
  # Create a namespace called "my-namespace"
  apiVersion: v1
  kind: Namespace
  metadata:
    name: my-namespace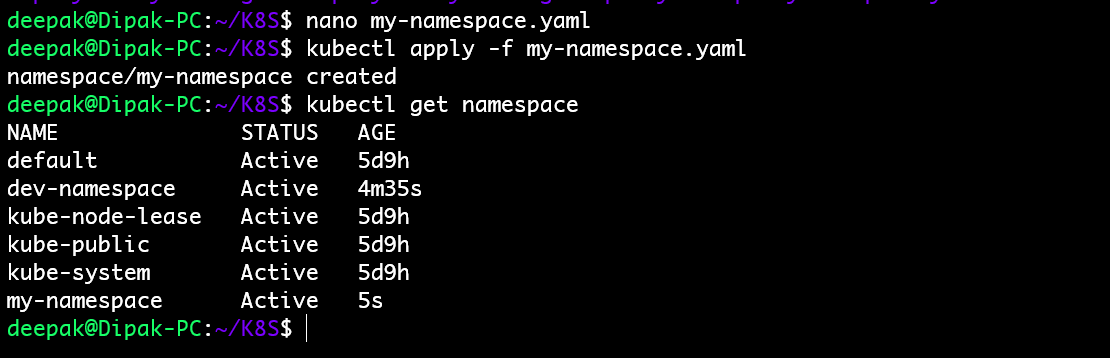
✍🏼 Create Resources Within Namespace
To create a resource within a namespace we have to use the namespace name in the resource's metadata.
  apiVersion: v1
  kind: Pod
  metadata:
    name: my-pod
    namespace: my-namespace  # Specify the namespace
  spec:
    containers:
      - name: nginx
        image: nginx
✍🏼 Or you can create a resource within a namespace while applying the specific resource YAML file using the command.
kubectl apply -f <resource-name> -n <namespace-name>apiVersion: v1 kind: Pod metadata: name: my-pod1 spec: containers: - name: nginx image: nginx
✍🏼 List Resources From Namespace:
To list the namespace use the below command.

✍🏼 Delete Namespace:
To delete the namespace use the below command.
kubectl delete namespace <namespace-name>
🥉Conclusion
Overall, namespaces enhance the manageability and security of Kubernetes clusters by providing a structured way to partition and control resources, making them a fundamental concept in Kubernetes administration and orchestration. 🌟
Thank you🙏🙏... for taking the time to read this blog. I hope you found the information helpful and insightful. So please keep yourself updated with my latest insights and articles on DevOps 🚀 by following me on
So, Stay in the loop and stay ahead in the world of DevOps!
Happy Learning !... Keep Learning ! 😊


